Paper Plate Clock Craft for Kids
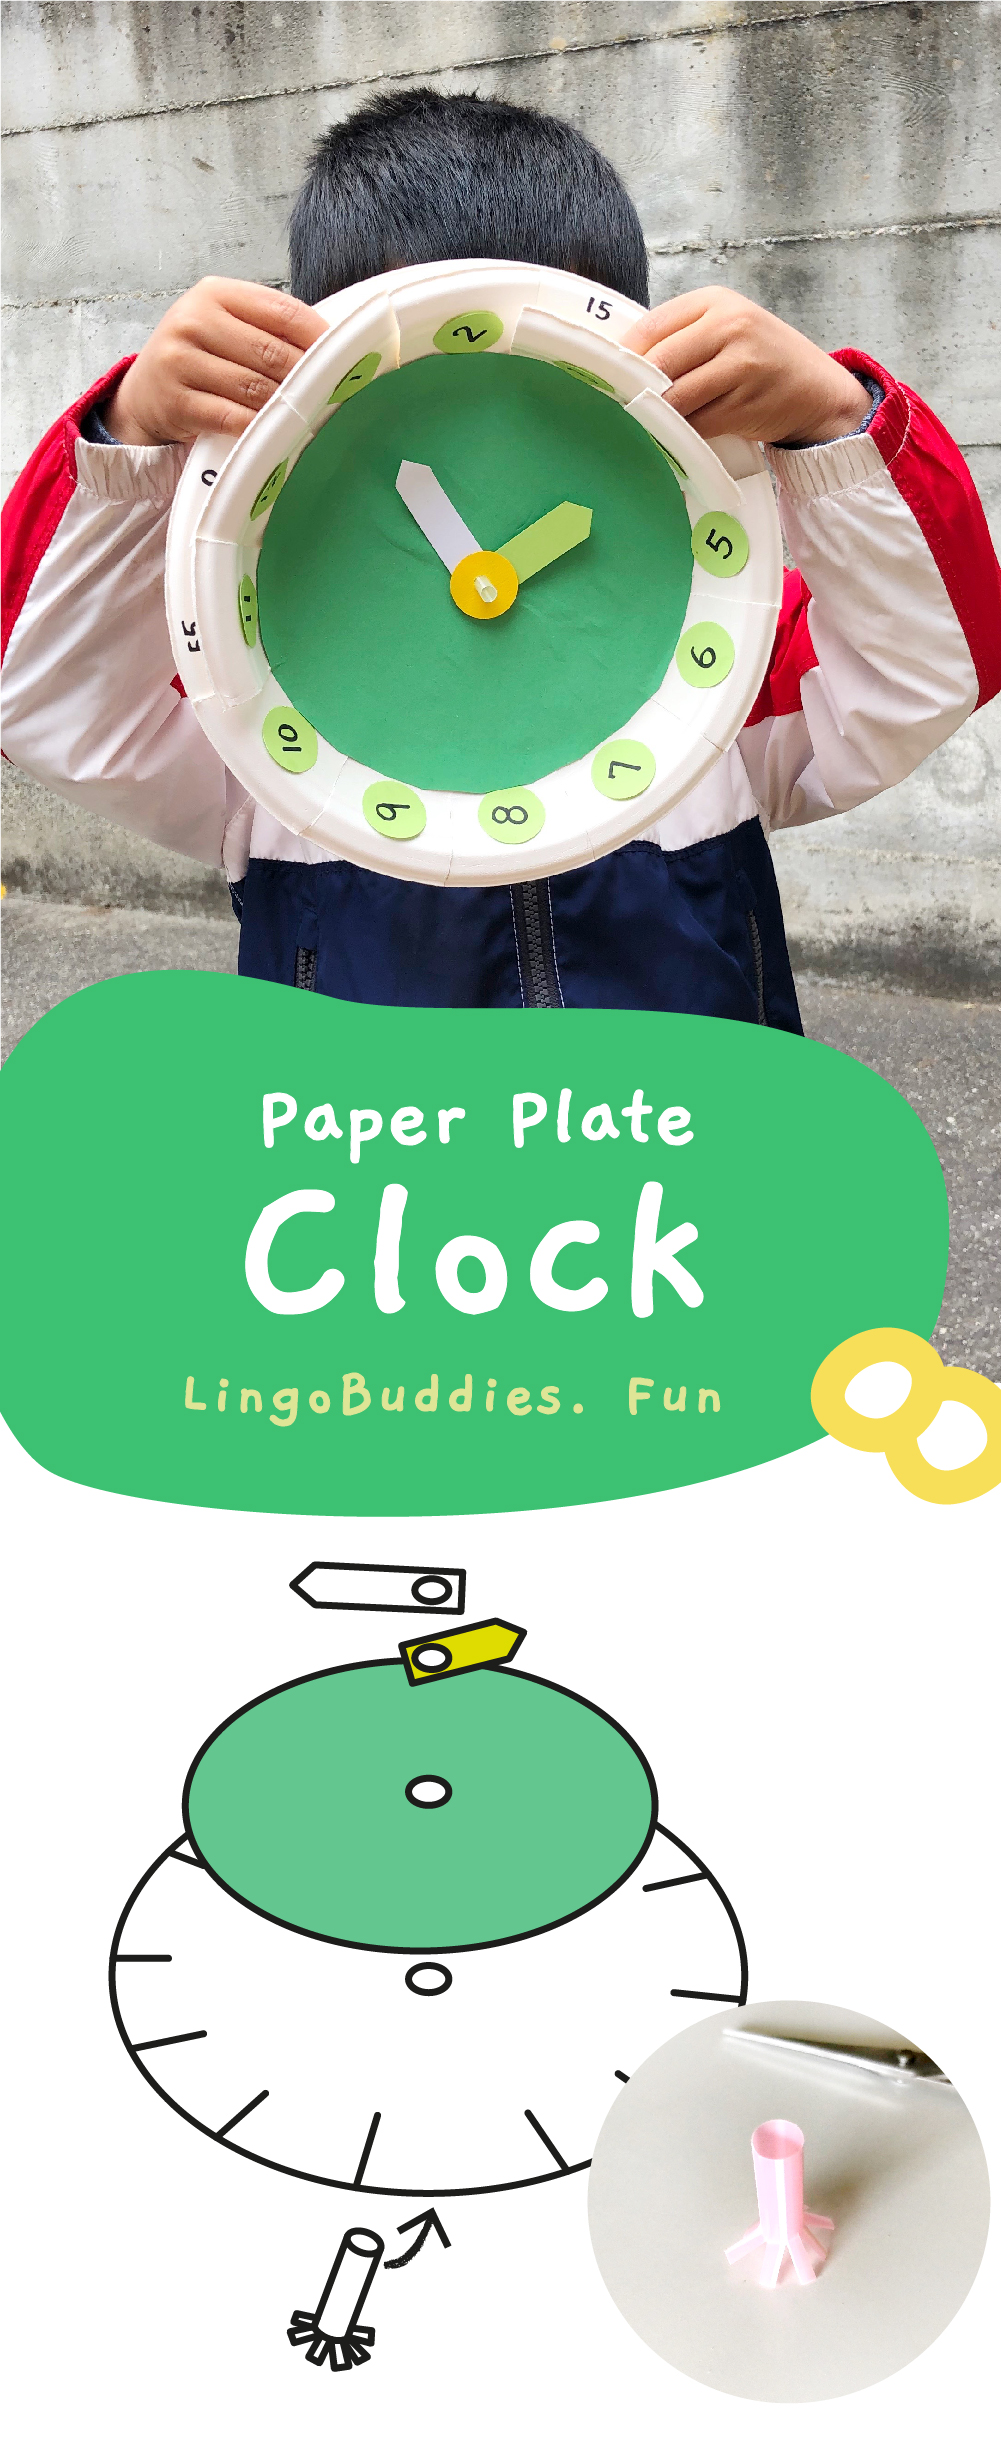
This paper clock project is a fantastic way to teach your child the concept of time. Your child can practice how to read the clock with sturdy and easy-to-make paper plate clock! The hands can be moved around and the flaps can be lifted to see what the minutes are. This paper clock can be made with any color your child prefers. You can also embellish it with hand drawn pictures or stickers.
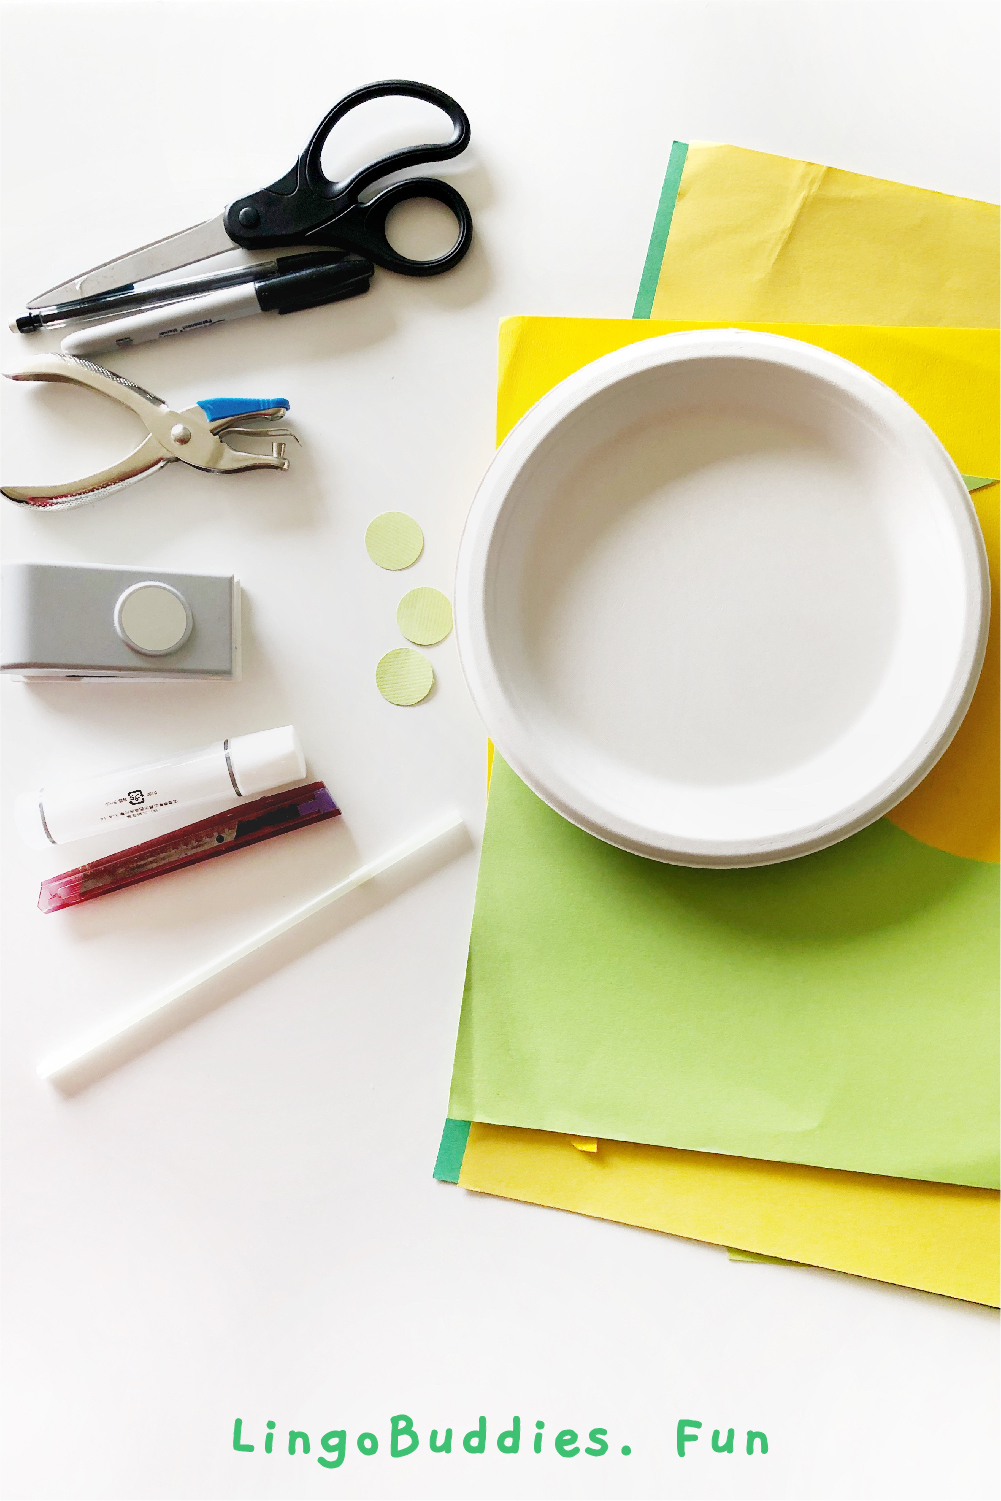
This paper plate clock project is inspired by my nephew of three and half. He's at an age where anything we ask him do, he wants to re-negotiate the terms. For example, when we tell him he has 10 more minutes before we need to leave, he pauses for a short moment and then looks straight at us in the eyes to say “how about ten more hours?” or “200 more minutes?” The numbers might be outrageous but when he looks at you with those googly eyes, it's hard not to give in.
After losing too many "negotiations", I’ve learned to avoid his gaze. But even then, it’s not easy to tell a child to stop playing to do something else. To a child, time is limitless and units like minutes, hours, days have no real value. But as a child grows, he or she will begin to grasp the passing of time. My nephew is starting to understand what a 5 minutes interval “feels” like. But beyond that, a 2 o’clock or 8 o’cock doesn’t mean very much except 2 means nap time and 8 means bedtime.
So for this week’s art class I decided to make a clock with my nephew to help him learn how to read a clock and use it as a practice tool.
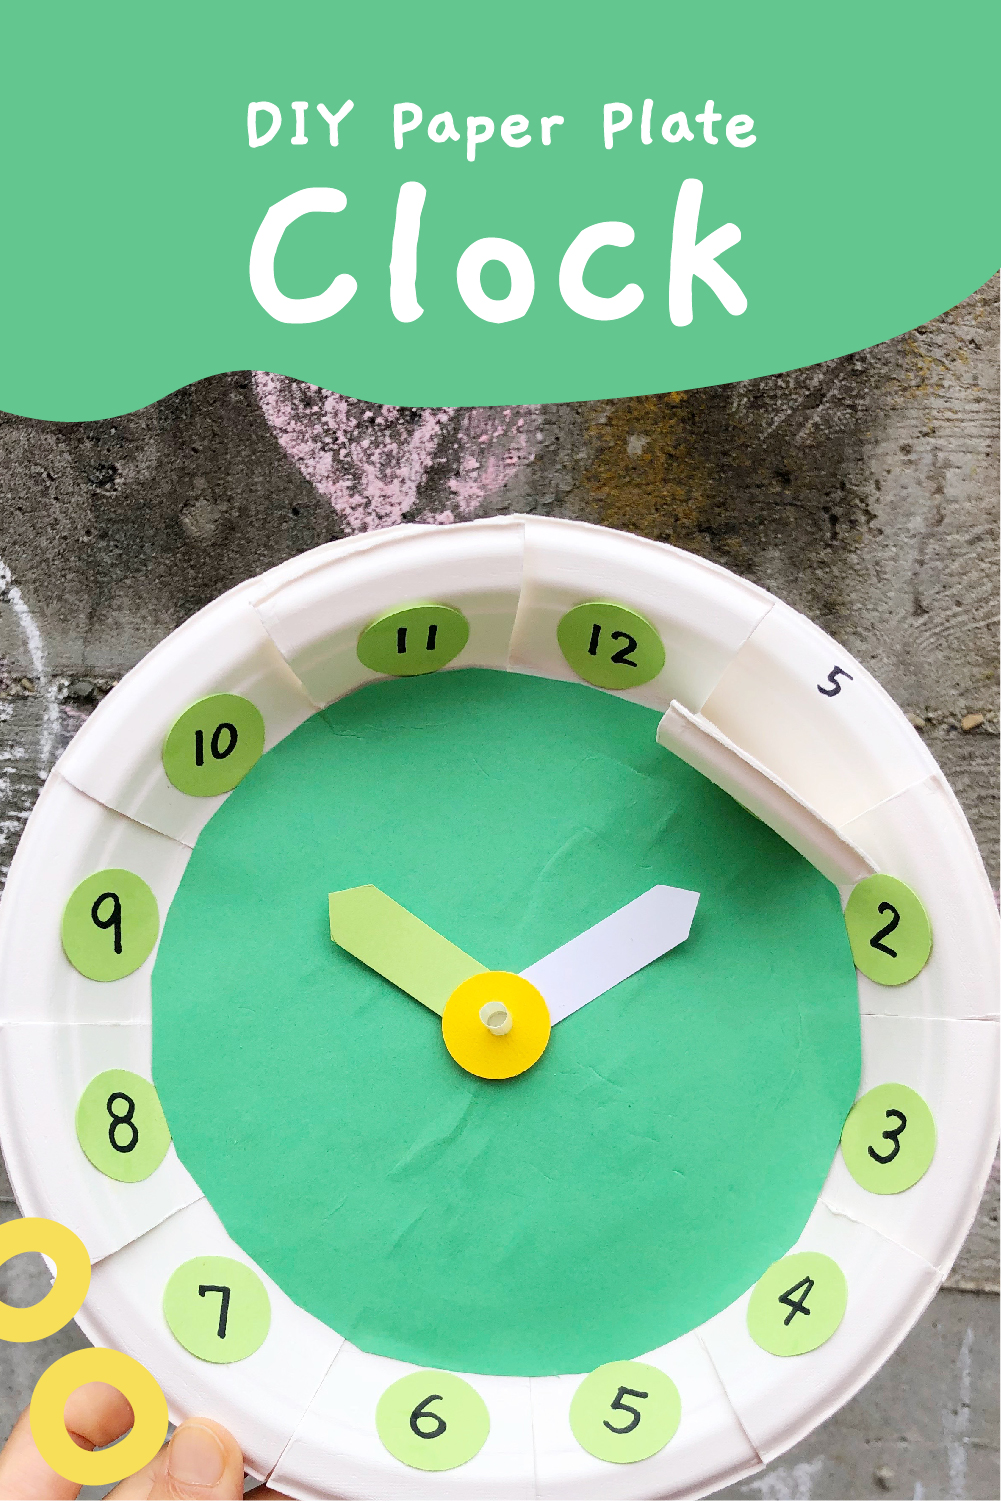
What you will need
2 Paper plates (colored or white)
Marker and pencil
Colored paper (2 colors)
1 Straw
Crafting glue
Scissors
Crafting knife or skewer
Hole punch (optional)
1" circle hole punch (optional)
How to Make
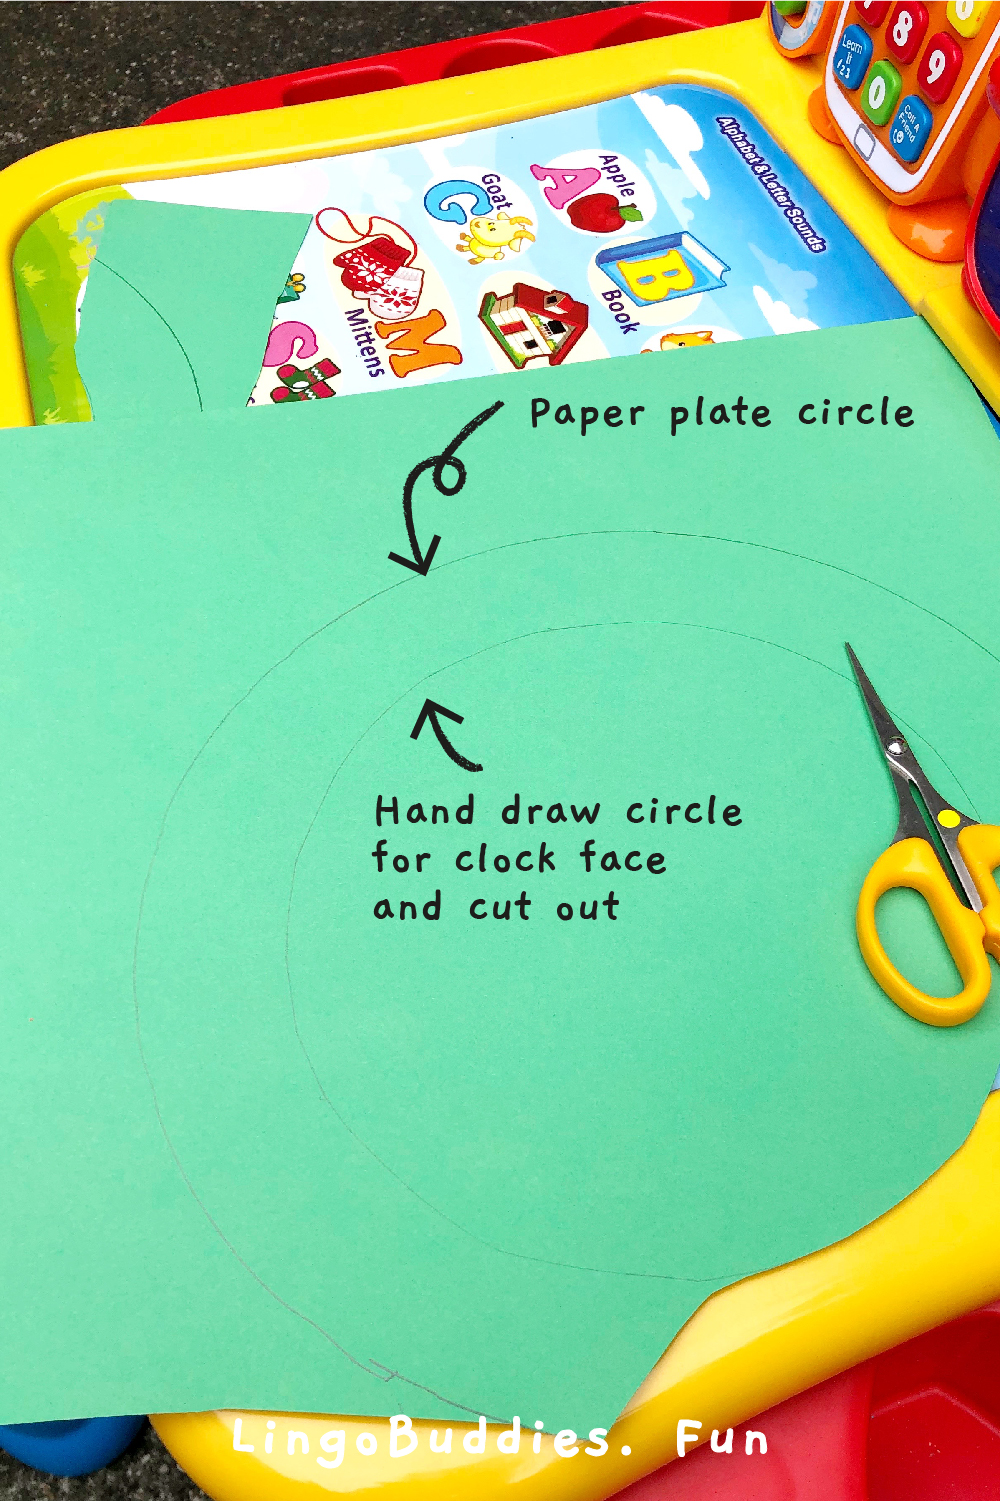
1. Use your paper plate to sketch a circle on a large piece of colored craft paper. Hand draw another smaller circle inside (about approx 2" offset) as the clock face.
2. Cut out the clock face.
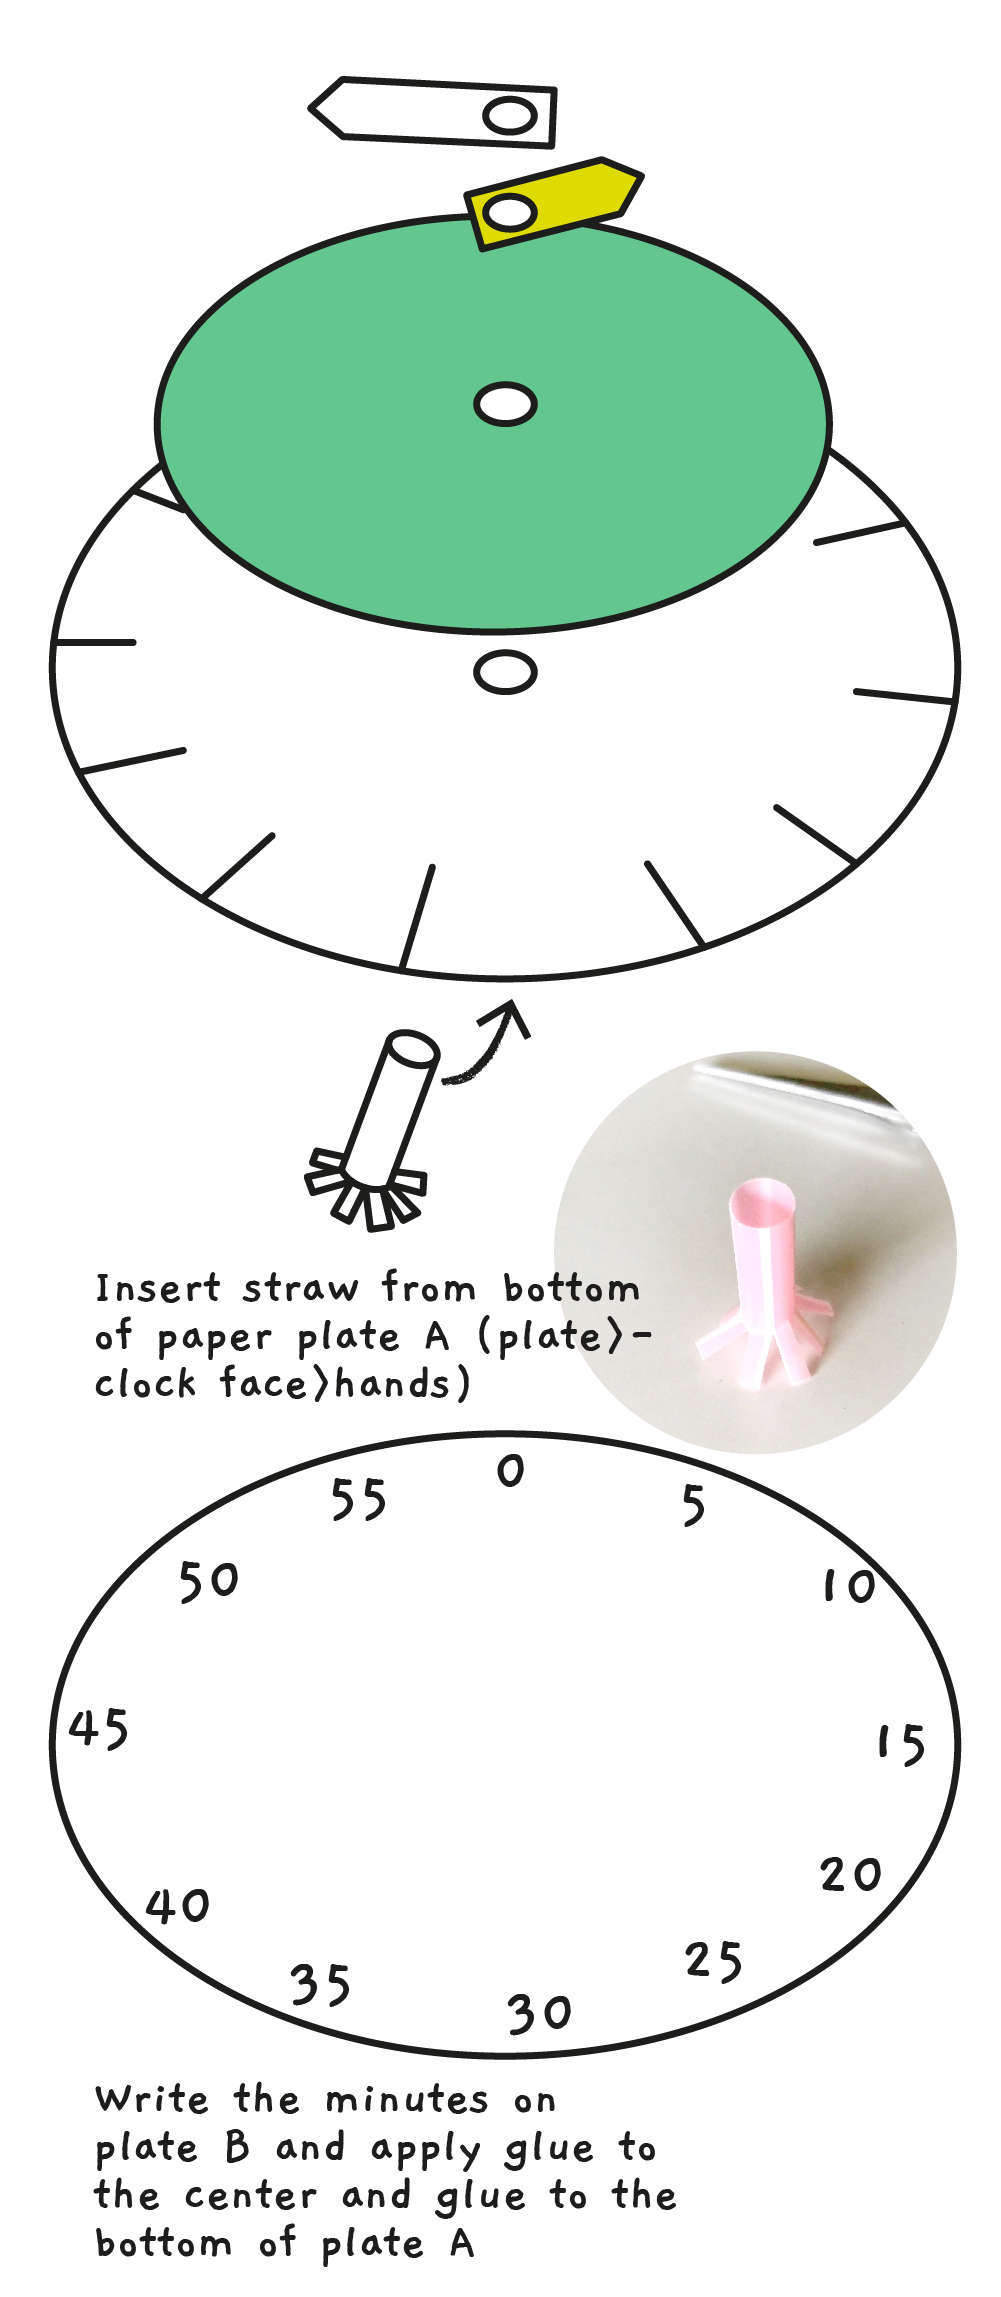
3. Use a crafting knife or a skewer to pierce a hole in the center of the clock face circle and one of the paper plates (A). The hole needs to be large enough to fit a straw through.
4. Make 12 evenly spaced perpendicular cuts (2" length) around paper plate A.
5. Glue the clock face circle over paper plate A.
6. Cut off 3/4" of the straw for the center dial. On one end, use a small pair of scissors to cut thin strips (1/4" length) around the straw and fan them out.
7. Insert the straw through 5. then glue the bottom side to over the uncut paper plate (B).
8. Once dried, flip over each flap on paper plate A. to write the minutes beneath on paper plate B (5, 10, 15, and so on).
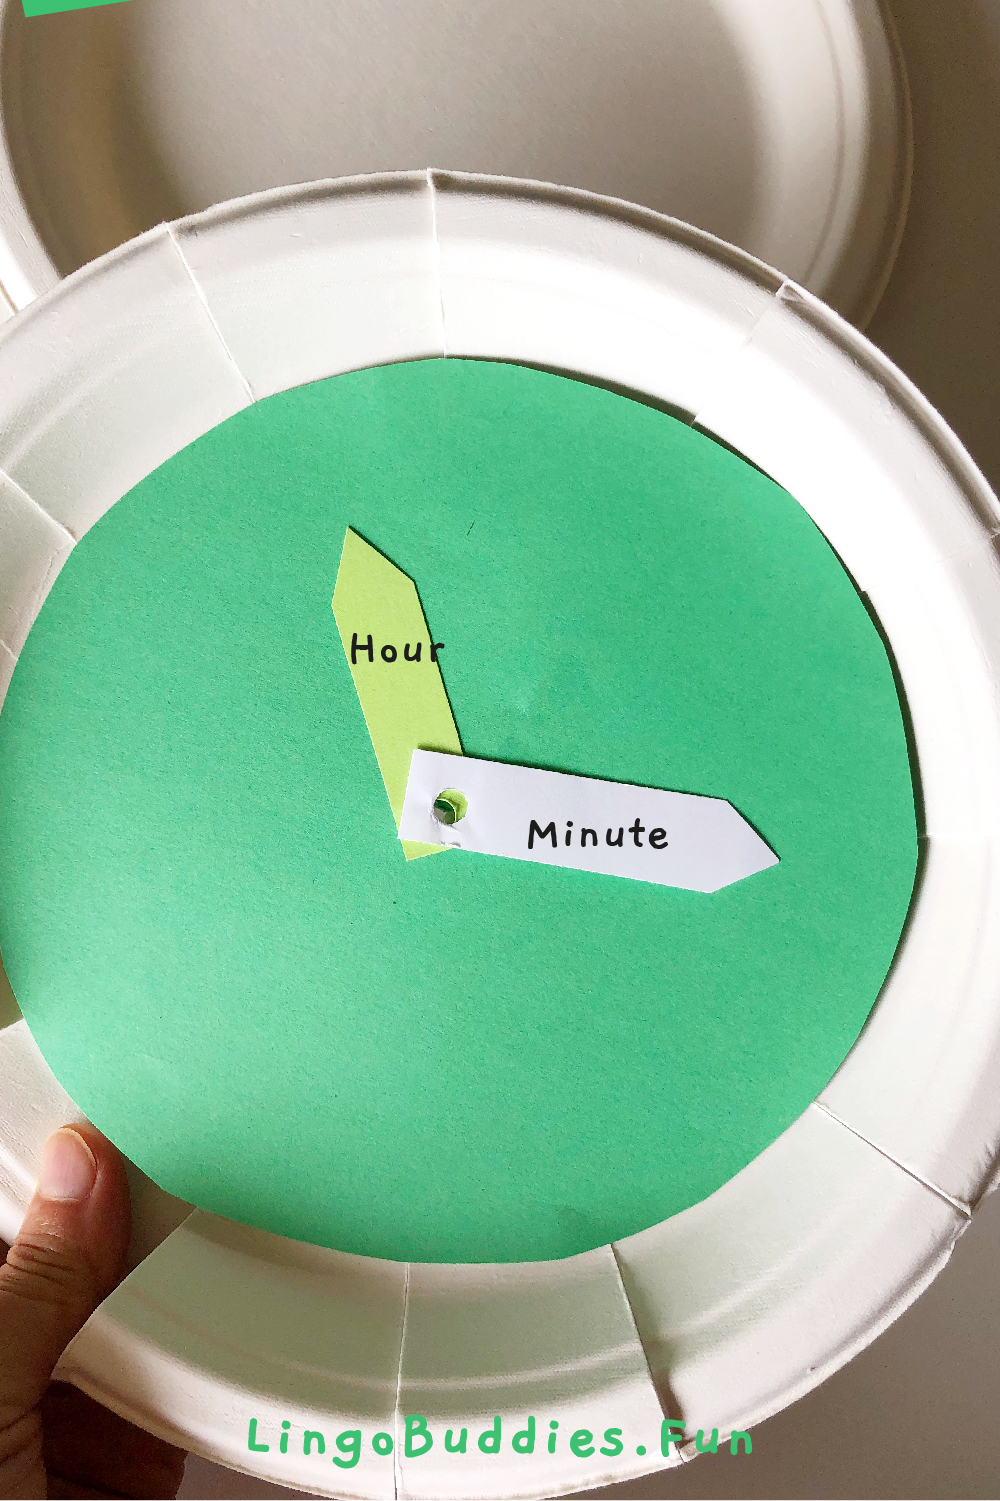
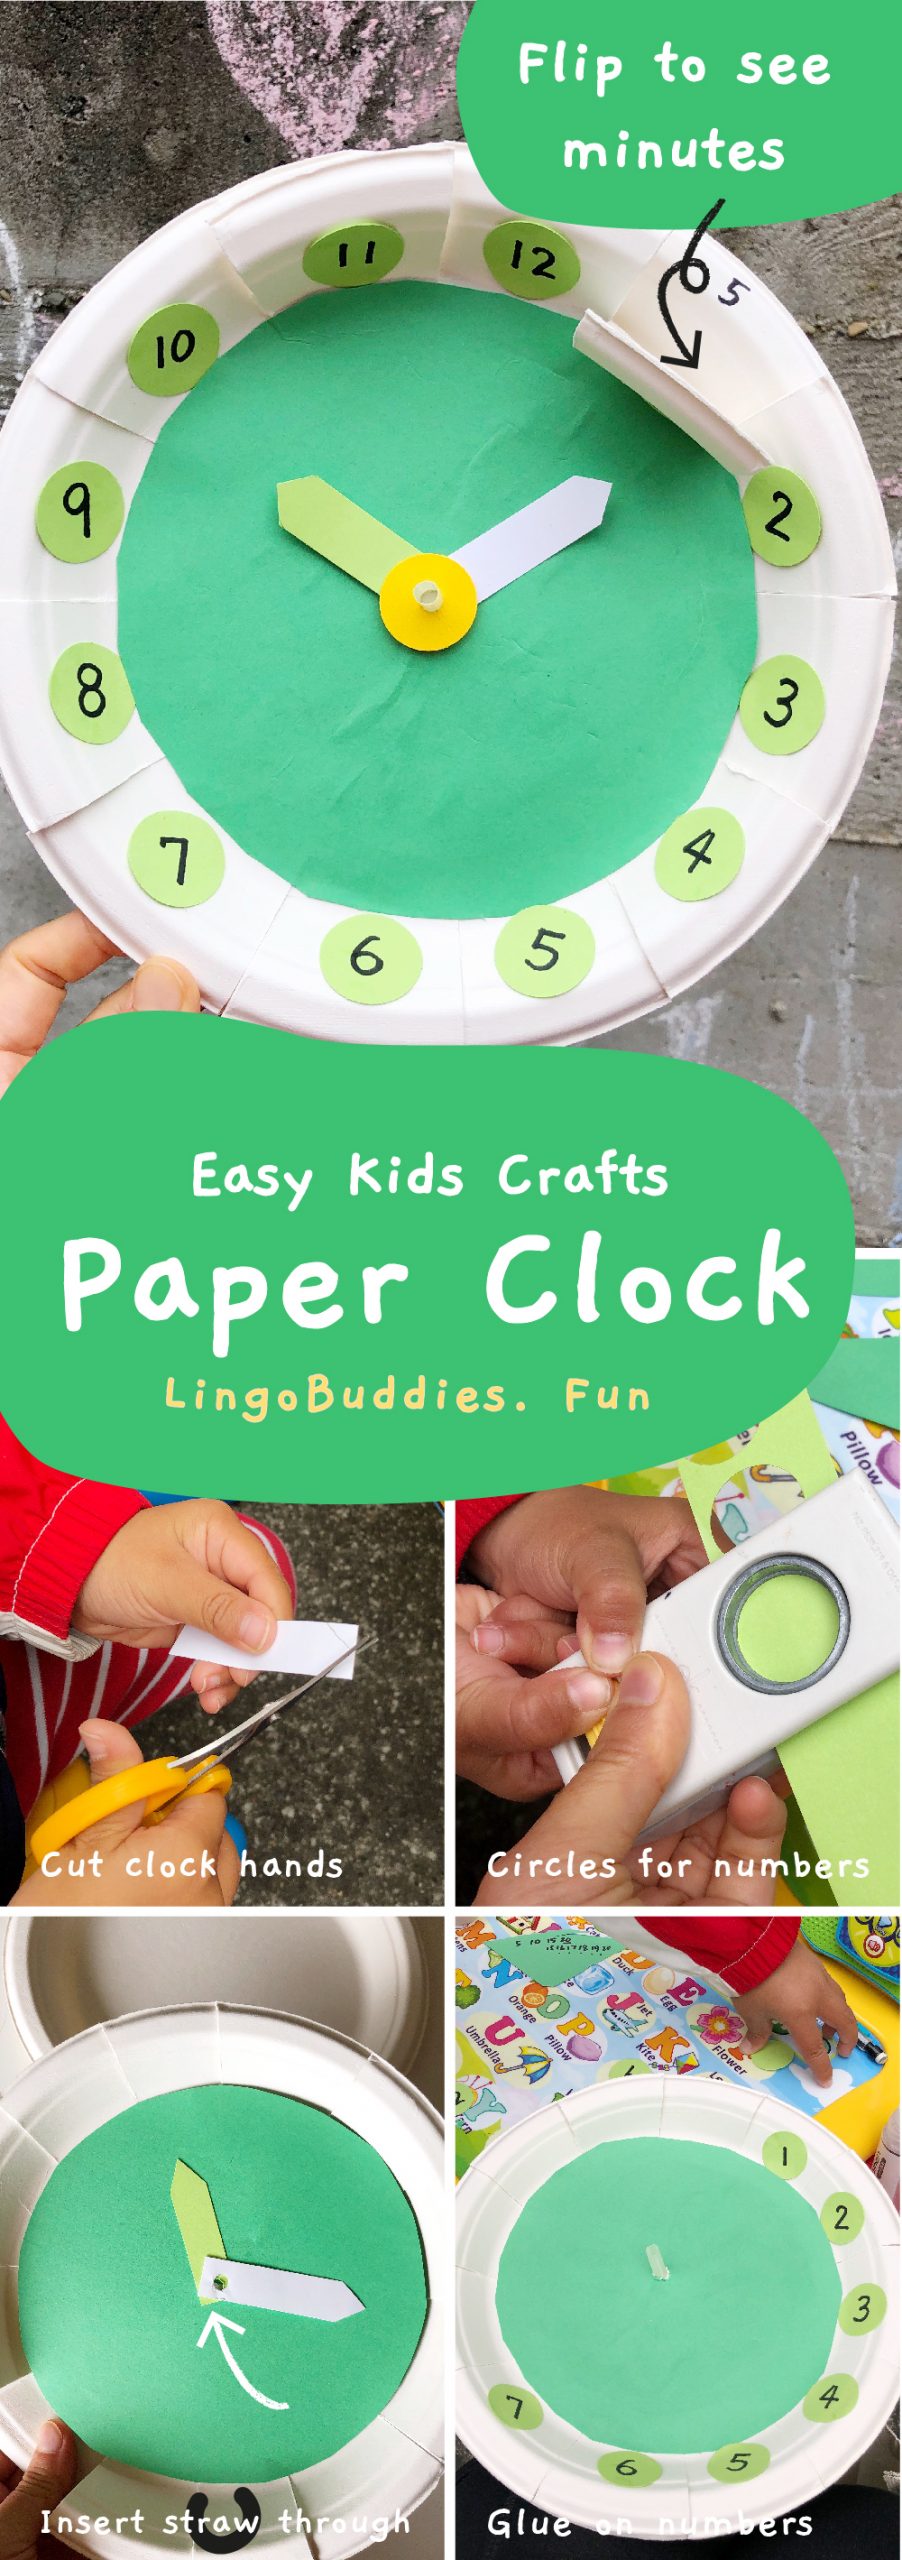
9. Make clock hands using 2 different colors (the shorter hand for hour, one longer for minute). Then use a hole punch or skewer to pierce a hole at the end of each hand and fit over the straw.
10. Use a 1" circle hole punch to make 12 circles in the same color as the shorter clock hand. Then mark each circle from 1 to 12. You can also hand cut the circles or use square shapes.
11. Glue the circle numbers on the clock face (make sure to check the minutes behind matches the hour numbers (1 to 5, 2 to 10, 3 to 15 and so on)
12. Let it dry and it's ready for use!
How to Use the Clock
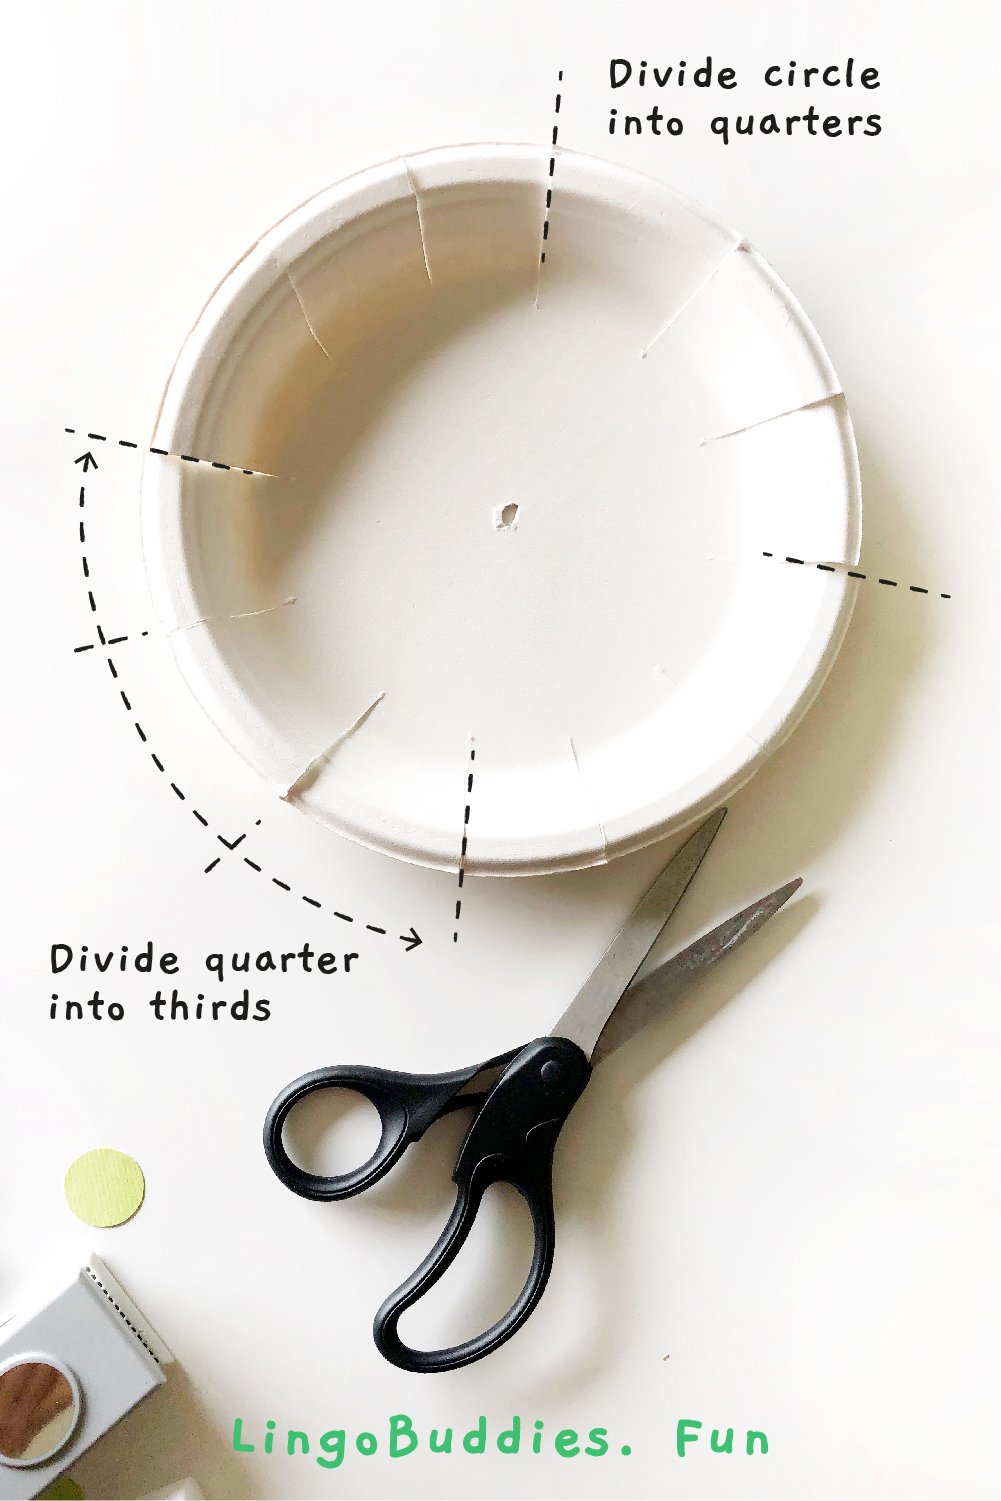
- Start by learning how to read the hour hand first (remove the minute hand as needed). Ask your child to move the clock hands to show 1 o'clock, 2 o'clock and so on.
- Introduce the minute hand (remove the hour hand as needed). Ask your child to tell you the minutes by flipping over the flap of where the minute hand is pointing at.
- Combine the hour and minute hands. Ask your child to move the clock to show different times. Start with the times he or she is most familiar with such as bedtime, lunchtime, etc.
- Add more challenge by asking your child to tell you the time without flipping over the flap.
Personal Side Note
As I was trying to teach my nephew how to read a clock, I realized the logic of an analog clock is not as easy as it seems. In fact, it can be quite confusing for children to understand how to read it. For example, when the longer hand points to number 1 it means it's 5 minutes in, but when the shorter hand points to number 1, it actually means 1. Or how about when the longer hand points to number 6 while the shorter hand points to somewhere between numbers 5 and 6, it still means it’s 5 o'clock something? The rules are much more complicated than I realize. Then there's question of why there are a total of 60 minutes in an hour and 24 hours in a day instead of something simple like 10 or 100? In any case, when you are teaching your child how to read the clock, be patient, with enough practice, he or she will master it in no time (no pun intended!).


0 Comments